

Table of Contents
Introduction
What is HTML?
What is CSS
Some Code Editors to Use
Creating A login page
Conclusion
Resources
Introduction
A login page is a page that authenticates a user before letting them access the Application. It is also a prompt that lets users fill in their necessary credentials. In this article, you will learn how to create a login page using HTML CSS.
What is HTML?
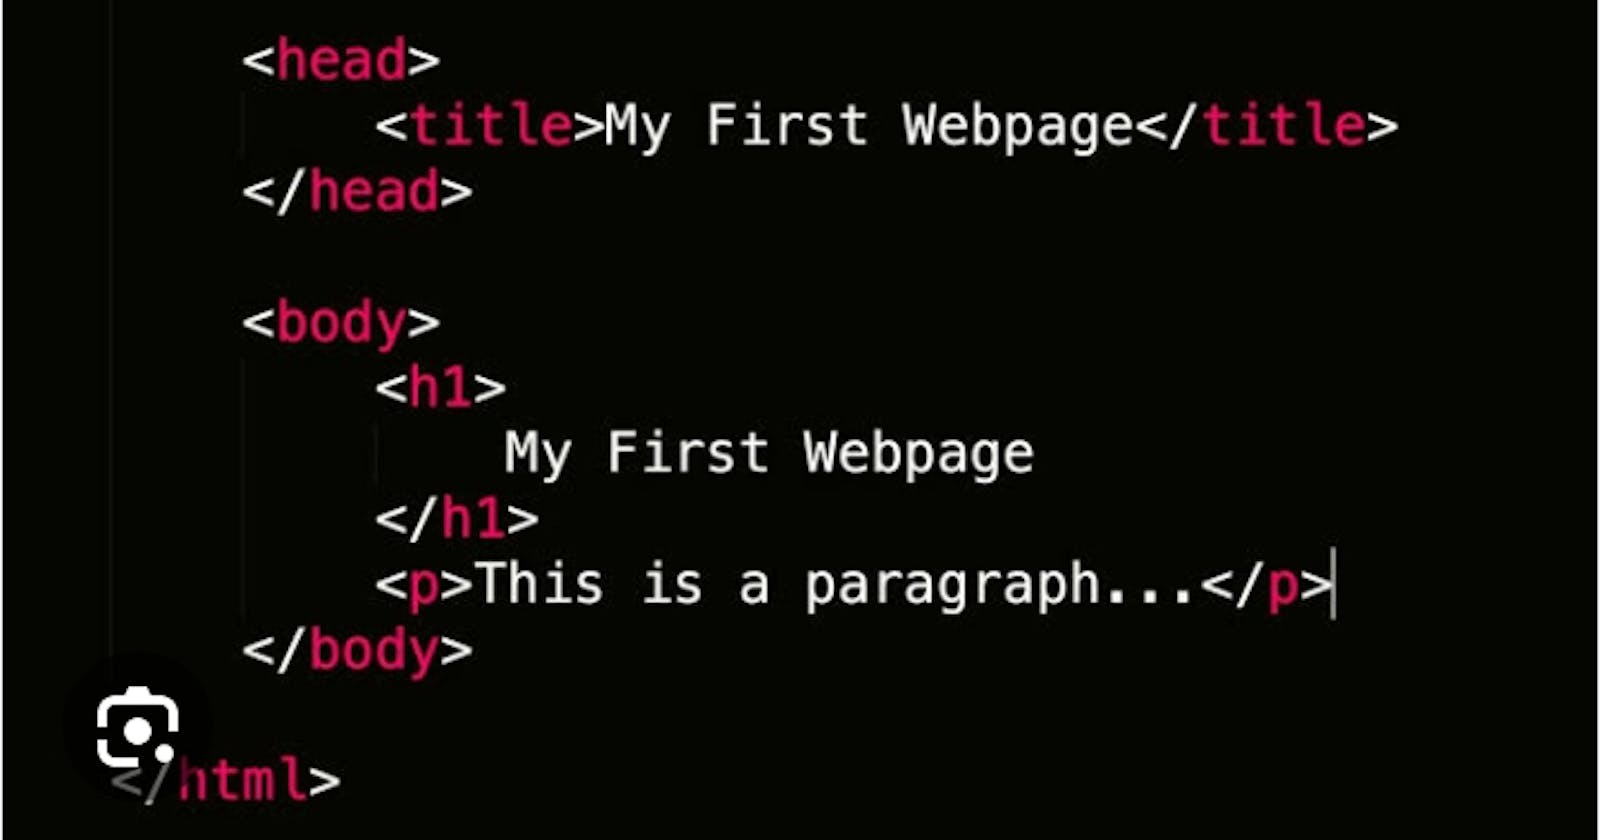
HTML stands for HyperText Markup Language, it comprises elements such as Div, Span, Paragraphs, etc. It gives a defined structure to the web page, an HTML file ends with HTML or HTM to signify the file it is.
What is CSS?
CSS stands for Cascading Style sheets, It is used to improve the separation of contents accessibility and provide more flexibility and control in the specification of presentation.
Types of CSS
There are three types of CSS, they include:
Inline CSS
Internal CSS
External CSS
Click Here, to read further on the types of CSS.
Code Editors
Several code editors can be used to structure the contents of your login page, they can be online or installed on your local machine, below are some local editors that can be installed on your Mac, Windows, and Linux:
Visual Studio Code download
-
-


These code editors perform similar functions, some of which are useful to others, the illustration below will be done with Vscode, So, download Vscode from the link above.
Creating your login page
A login page can be created with the steps below:
Create a folder: Right-click on your desktop, select a folder, create a folder, and name it the login page for easy identification.
Open your folder: Open your code editor, you have an interface with some instructions in it. Click on the open folder to display the folder you created.
- Create an HTML file: At the top left of your code editors, there are some icons, Carefully read each, click on the new file Icon, and create an
Index.htmlfile
- Create an HTML file: At the top left of your code editors, there are some icons, Carefully read each, click on the new file Icon, and create an


4. Create a boilerplate: Input the DOCTYPE or HTML 5 on the first line of your file this will create a boilerplate like the image below

Input a picture: Get a picture of your choice to input in your background, this is to make it colorful.
Create a Structure for Your HTML, input a
div tag, give it a class attribute with a preferred name, create a form tag, input a h1 tag, input a label for your form, create an input for your email address, create an input for your password, the password should have a place holder of "password" to keep it hidden, all these should be done on a new line to enhance the structure of the page. Use the image below to complete the rest of the steps for your form.
<!DOCTYPE html>
<html lang="en">
<head>
    <meta charset="UTF-8">
    <meta name="viewport" content="width=device-width, initial-scale=1.0">
    <title>login-page</title>
</head>
<link rel="stylesheet" href="./style.css">
<body>
    <div class="dark"></div>
    <div class="log">

    <form action="">
        <h1>Login</h1>
        <label for="Username">Email</label><br>
            <input type="email"id= "Username" class="name" placeholder="ruth@gmail.com">
            <br>
            <label for="password">Password</label><br>
                <input type="password" id="Password" class="pass" placeholder="password">
                <div class="btn">
                    <button >LOGIN</button><br>
                </div>
                <div class="btn">
                    <button type="submit" >SIGN IN WITH GOOGLE</button>
                </div>
                <p><a href="#">Create a Free Account</a> | <a href="#">Forgot password</a></p>

    </form>
</div>
</body>
</html>
After you are done structuring your code, preview it on any web browser of your choice it will be displayed this way

- Create a CSS File: Click on the file menu, create a
style.cssfile, and open the file, now, you can start styling your web page to give it the functionality it needs.
*{
    margin: 0;
    padding: 0;
    box-sizing: border-box;

}
body{
    height: 100%;
    width: 100%;
    background-image: url(pexels-photo-326055.webp);
    background-repeat: no-repeat;
    background-size cover;
    background-position: center;
}
.dark{
    position: absolute;
    height: 100vh;
    width: 100%;
    left: 0;
    top: 0;
    z-index: 1;
    background-color: hsla(0, 0%, 0%, .2);
}
h1{
    width: 100%;
    text-align: center;
    color: RGB(2, 2, 78)

}
form{
    /* outline: 2px solid red; */
    width: 40%;
    margin: auto;
    margin-top: 10%;
    background-color: #fff;
    height: 60vh;
    padding: 20px;
    border-radius: 10px;
    position: relative;
    z-index: 4;

}
.name{
    width: 100%;
    height: 6vh;
    padding-left: 10px;
    border-radius: 5px;


}
.pass{
    width: 100%;
    height: 6vh;
    padding-left: 10px;
    border-radius: 5px;

}
After you are done styling your page, your page should look like the image below, you have finally created your login page.

Conclusion
In this article, we created a simple login page using HTML and CSS, you are allowed to add more styles and elements to make your login page stand out. Check out the completed project on my Github account Here.